7.10.1 Add Course Template
7.10.1.1����� Click Course>Course Template as shown in
figure 7.10a.
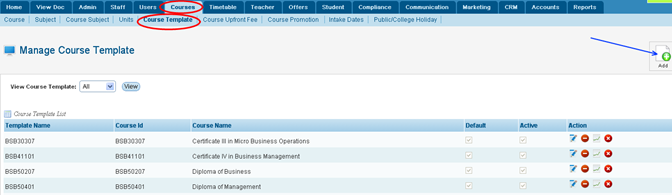
Figure 7.10a
7.10.1.2����� Click
 icon
in figure 7.10a as shown by blue arrow. A pop up window will appear on the
screen as shown in figure 7.10b. icon
in figure 7.10a as shown by blue arrow. A pop up window will appear on the
screen as shown in figure 7.10b.

Figure 7.10b
7.10.1.3����� Enter
the Template Name and select the course whose template you want to create in
figure 7.10b. Figure 7.10b should now appear as in figure 7.10c.
Note: You may also choose Set Default or Set
Active check box as per your requirement in figure 7.10b.

Figure 7.10c
7.10.1.4����� Finally
click  in
figure 7.10c. Your recently added template will appear as shown in figure
7.10d. in
figure 7.10c. Your recently added template will appear as shown in figure
7.10d.
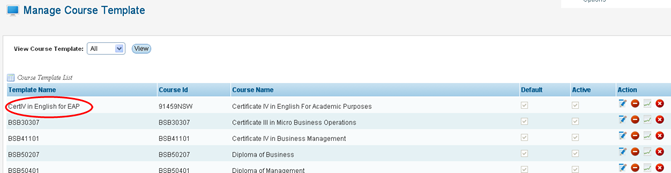
Figure 7.10d
| 


